Sau
một thời gian code ra được môt trang web xịn xò thì bạn có nhu cầu đưa
lên internet để mọi người được biết. Bắt đầu với công việc đầu tiên là
tìm mua tên miền, hosting hoặc VPS. Bạn có thể mua VPS lại Vultr. 1 VPS
có thể cài đặt được nhiều trang web.
Như vậy sau quá trình chuẩn
bị thành công, chúng ta sẽ đẩy code từ local lên hosting, server. Quá
trình này khá là mất công. Cách cổ điển hiện nay được nhiều người dùng
là dùng FTP, hoặc upload thằng từ các trang quản lý. Đây là công việc
khá nhàm chán, tốn thời gian. Khi có một thay đổi nhỏ là phải đi thao
tác lại.
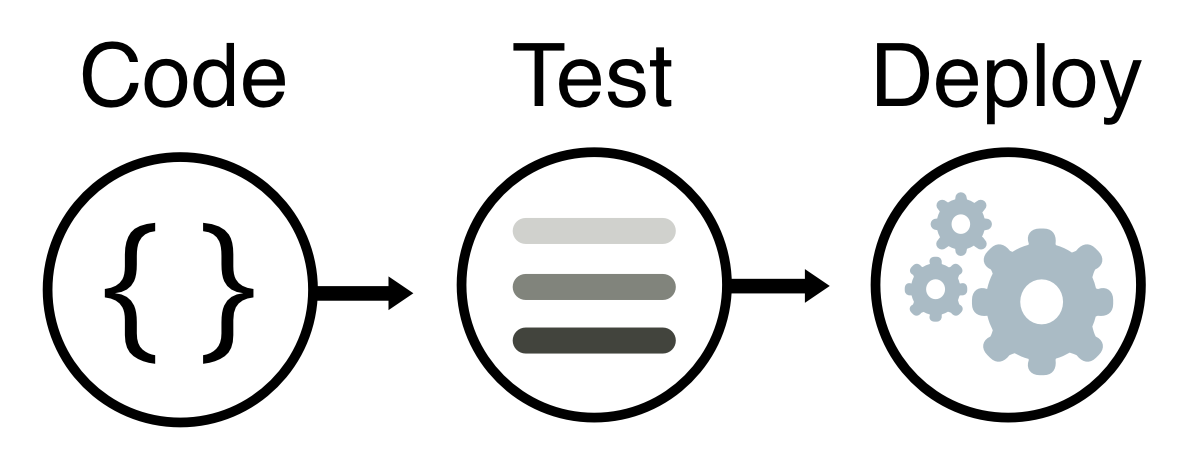
Chính vì vậy khái niệm CI/CD ra đời. CI/CD là một bộ đôi công việc, bao gồm CI (Continuous Integration) và CD (Continuous Delivery),
ý nói là quá trình tích hợp (integration) thường xuyên, nhanh chóng hơn
khi code cũng như thường xuyên cập nhật phiên bản mới (delivery). Có
khá nhiều công cụ hỗ trợ CI/CD, nhưng trong phạm vi bài viết chỉ đề cập
công cụ CI/CD của Gitlab, và tất nhiên sử dụng tính năng free. Nếu bạn
dùng nhiều hơn, phải trả thêm phí. Khi đó công việc sau khi code xong
chỉ là nhấn nút push lên gitlab, ngồi uống cafe và đợi thành qủa.
Để tiết kiệm thời gian cài đặt và mọi thứ suôn sẻ, bạn cần có một chút kiến thức về VPS, SSH, public key, private key…
Một số thứ cần chuẩn bị trước khi bắt tay vào làm.
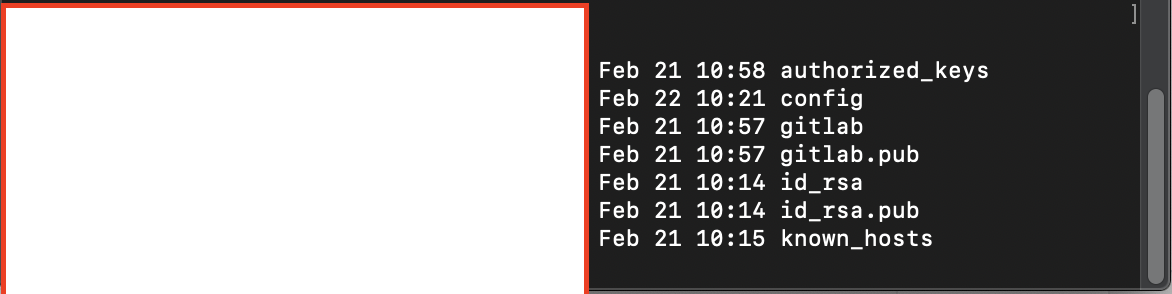
Hệ thống tự sinh ra 2 file là gitlab, và gitlab.pub
Trong cửa sổ lệnh terminal gõ:
cat gitlab.pub
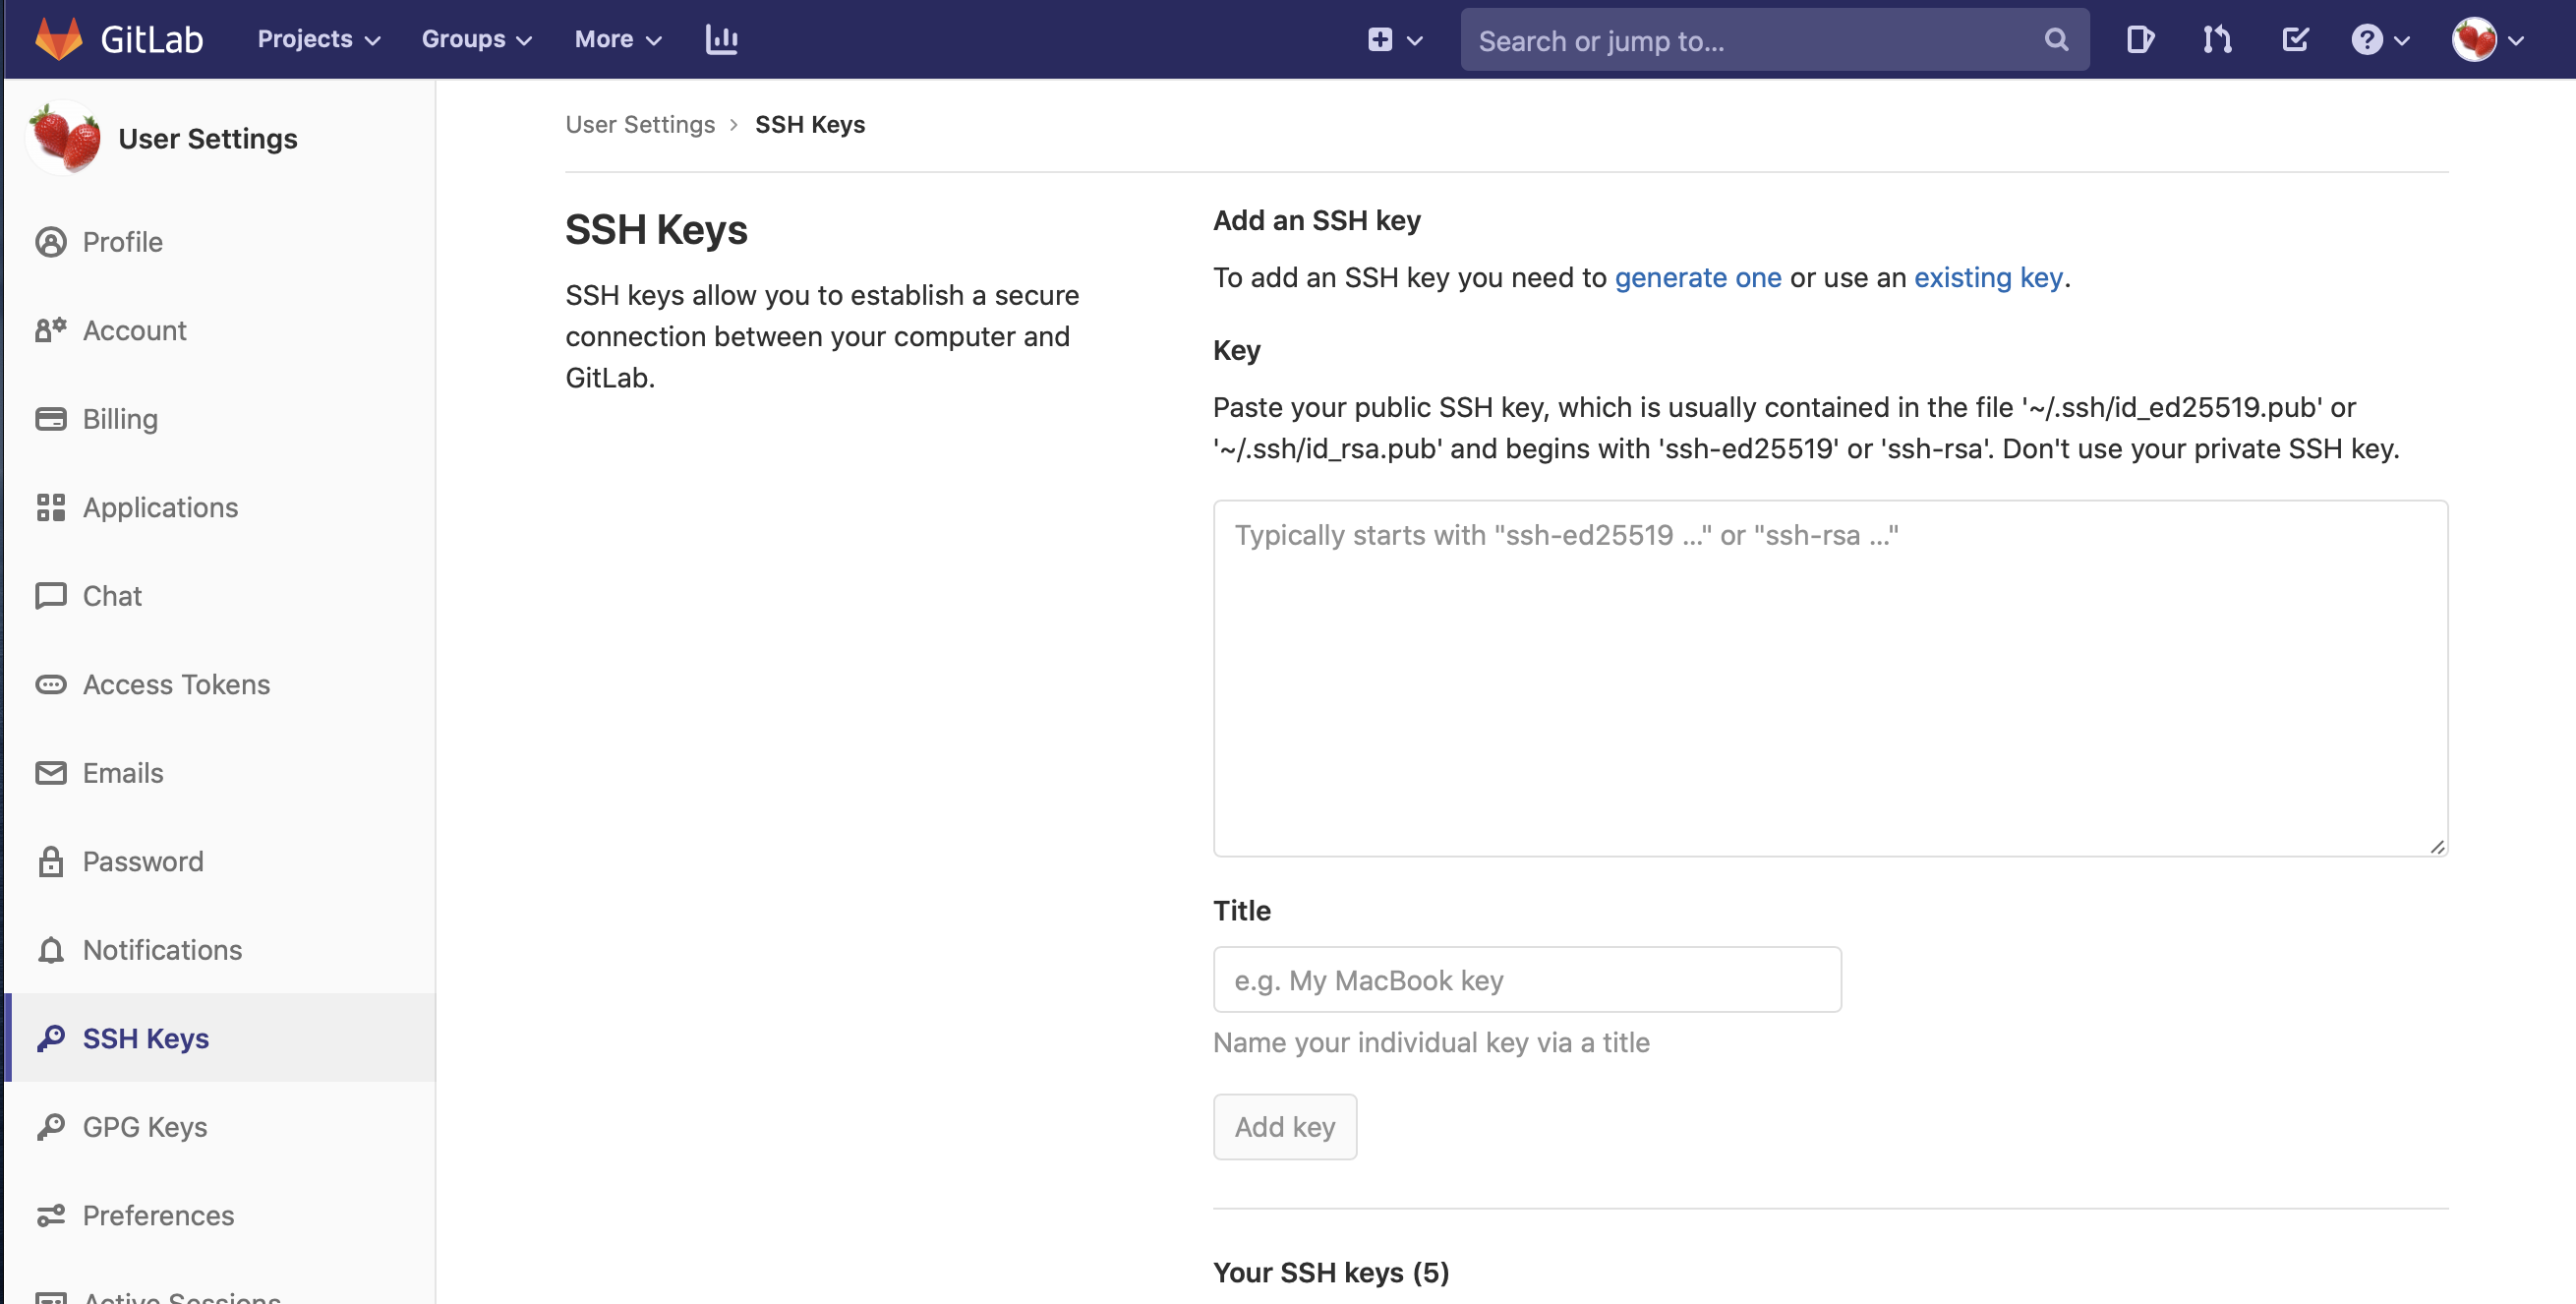
Copy đoạn code public key, dán vào mục SSH của tài khoản Gitlab.
Tiếp theo gõ lệnh cat gitlab để lấy private key
cat gitlab
Private
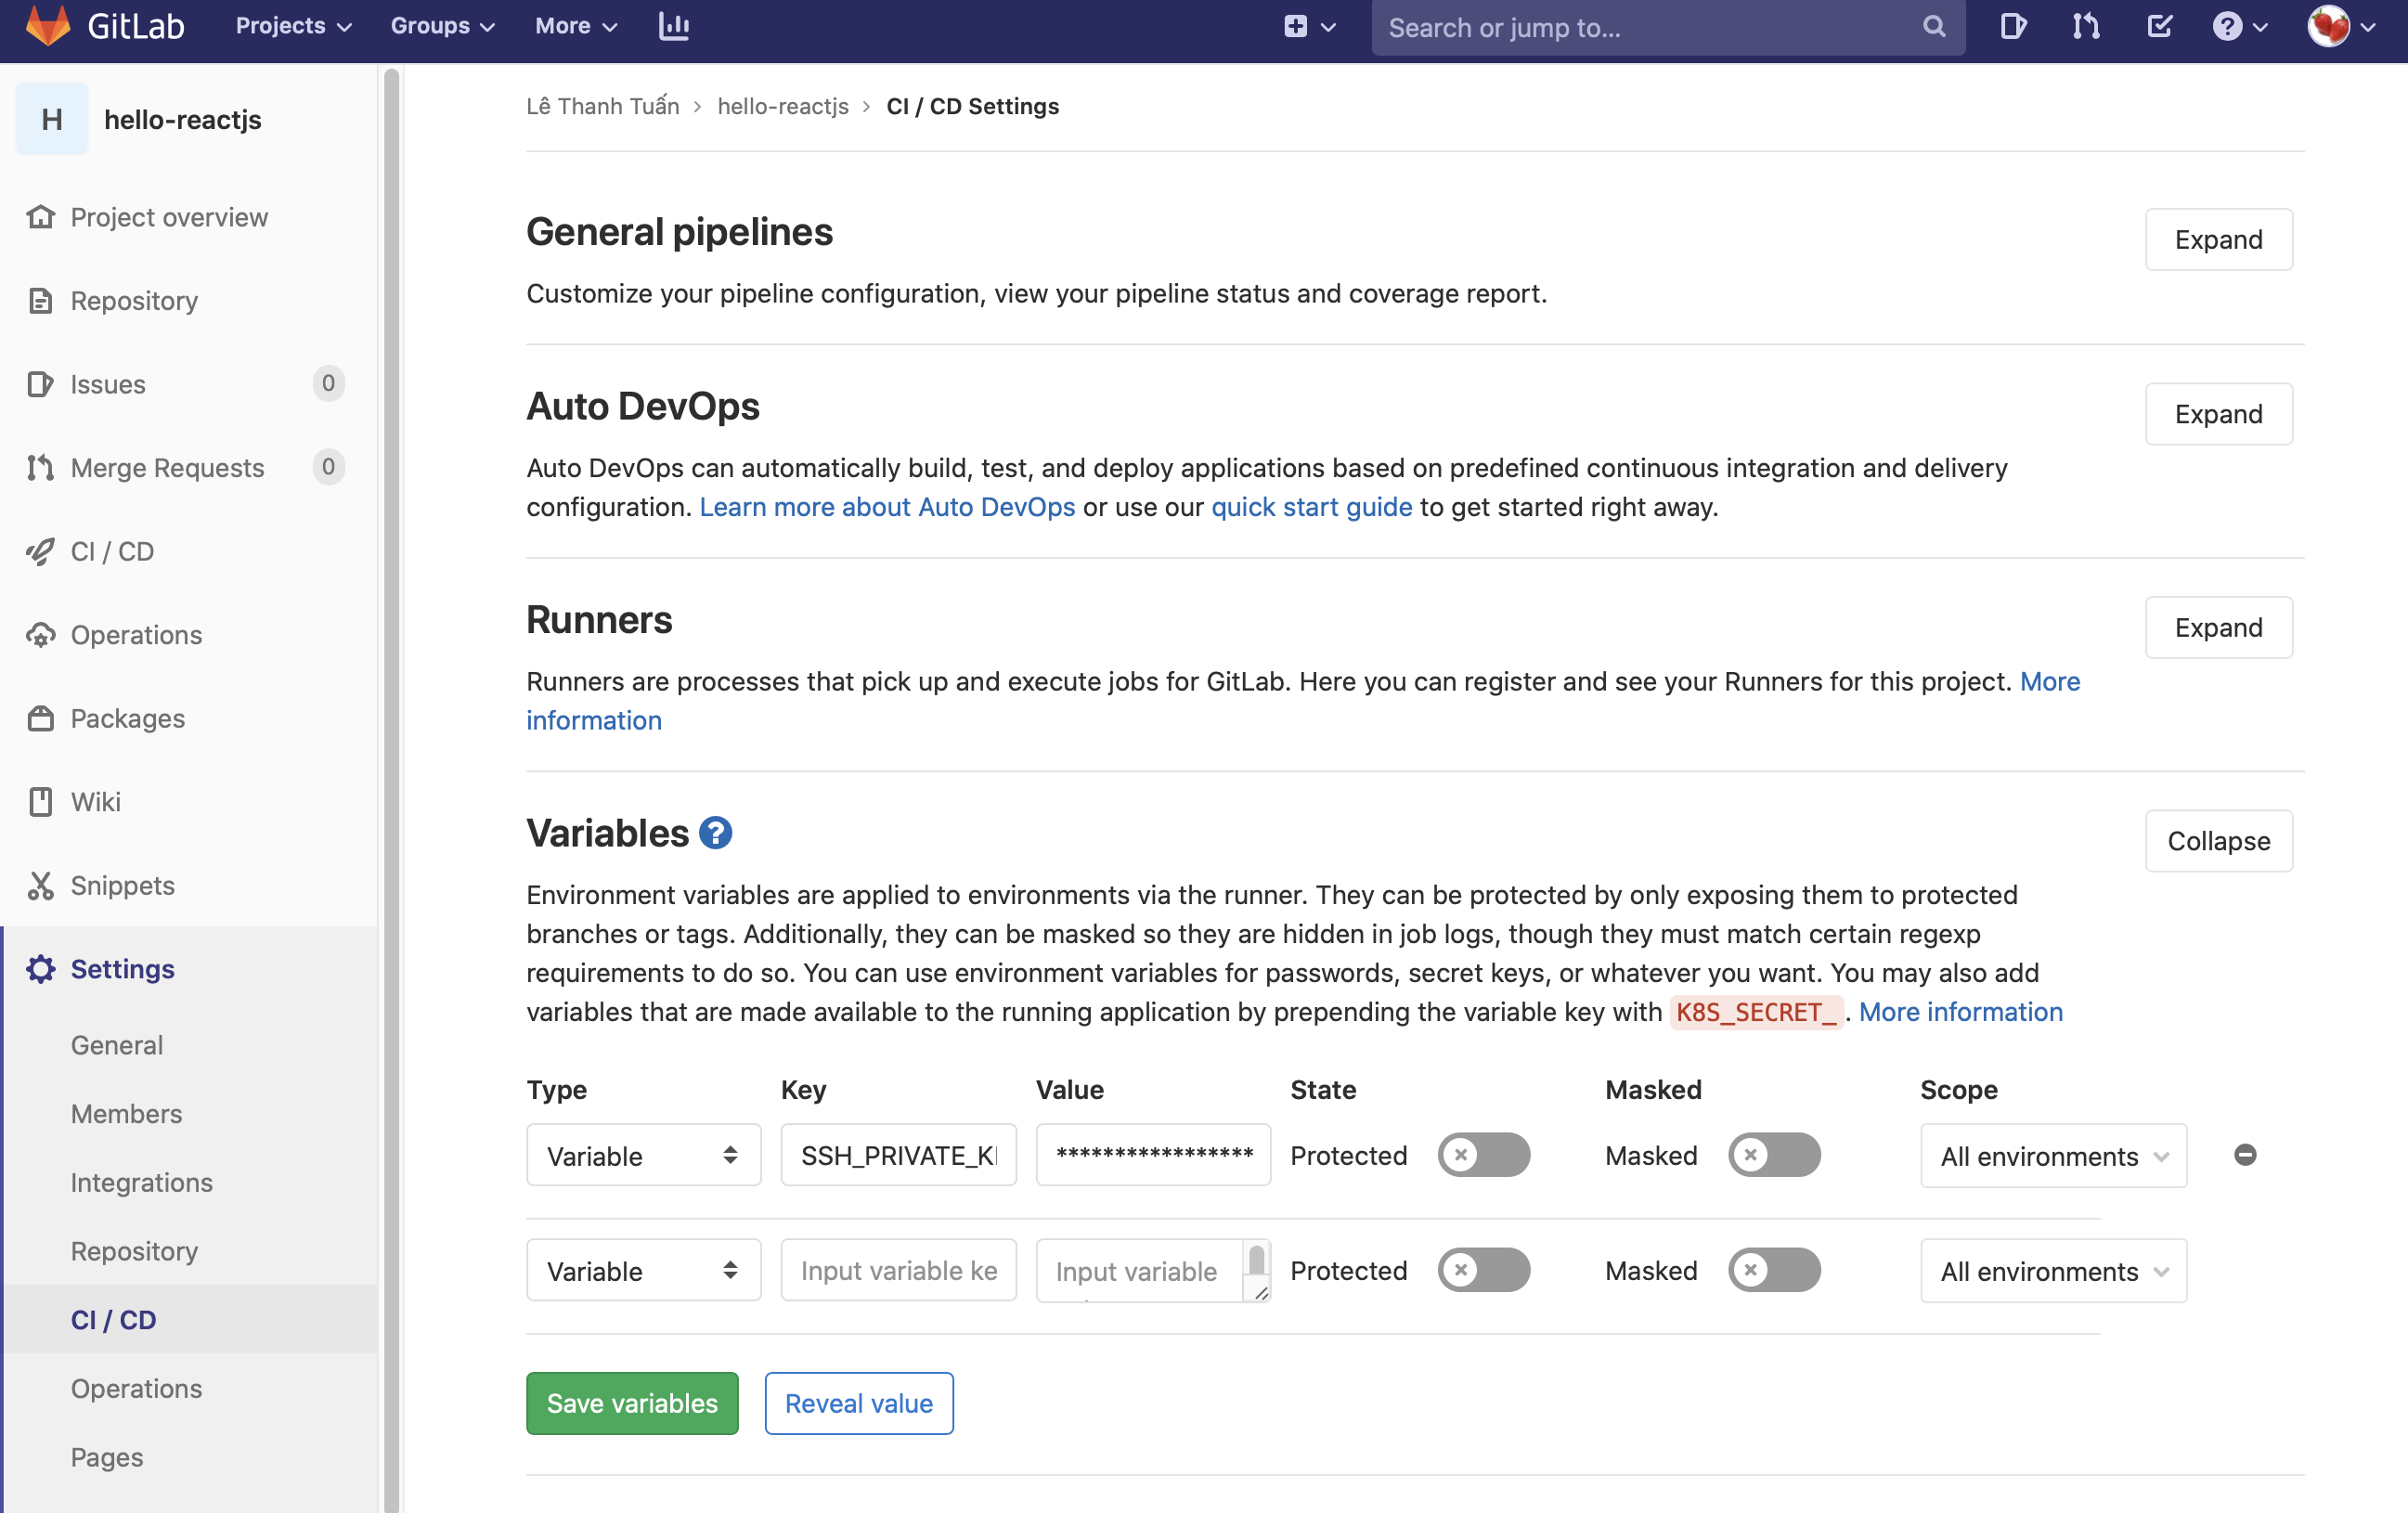
key này sẽ gán vào mục Settings CI/CD của repository. Trong mục
Variables tạo 1 key mới là SSH_PRIVATE_KEY, dán private key của bạn vào
đây
Quay lại cửa sổ Terminal. Gõ nano authorized_keys. Copy public key của bạn vào đây và lưu lại. Chú ý phân quyền đọc file
Gitlab
Runner là thành phần cực kỳ quan trọng trong workflow Gitlab CI. Nếu
không có Runner thì sẽ không có lệnh test, deploy nào được thực thi.
Runner có nhiều loại, phân biệt dựa vào cái gọi là executor. Khi khởi
tạo runner, bạn sẽ phải chọn nó là loại executor nào, và nó sẽ quyết
định môi trường thực thi các câu lệnh trong file config ở trên. Bạn có
thể tham khảo link https://docs.gitlab.com/runner/executors/ để biết sự khác nhau của các executor cũng như cách cài đặt, cấu hình chúng.
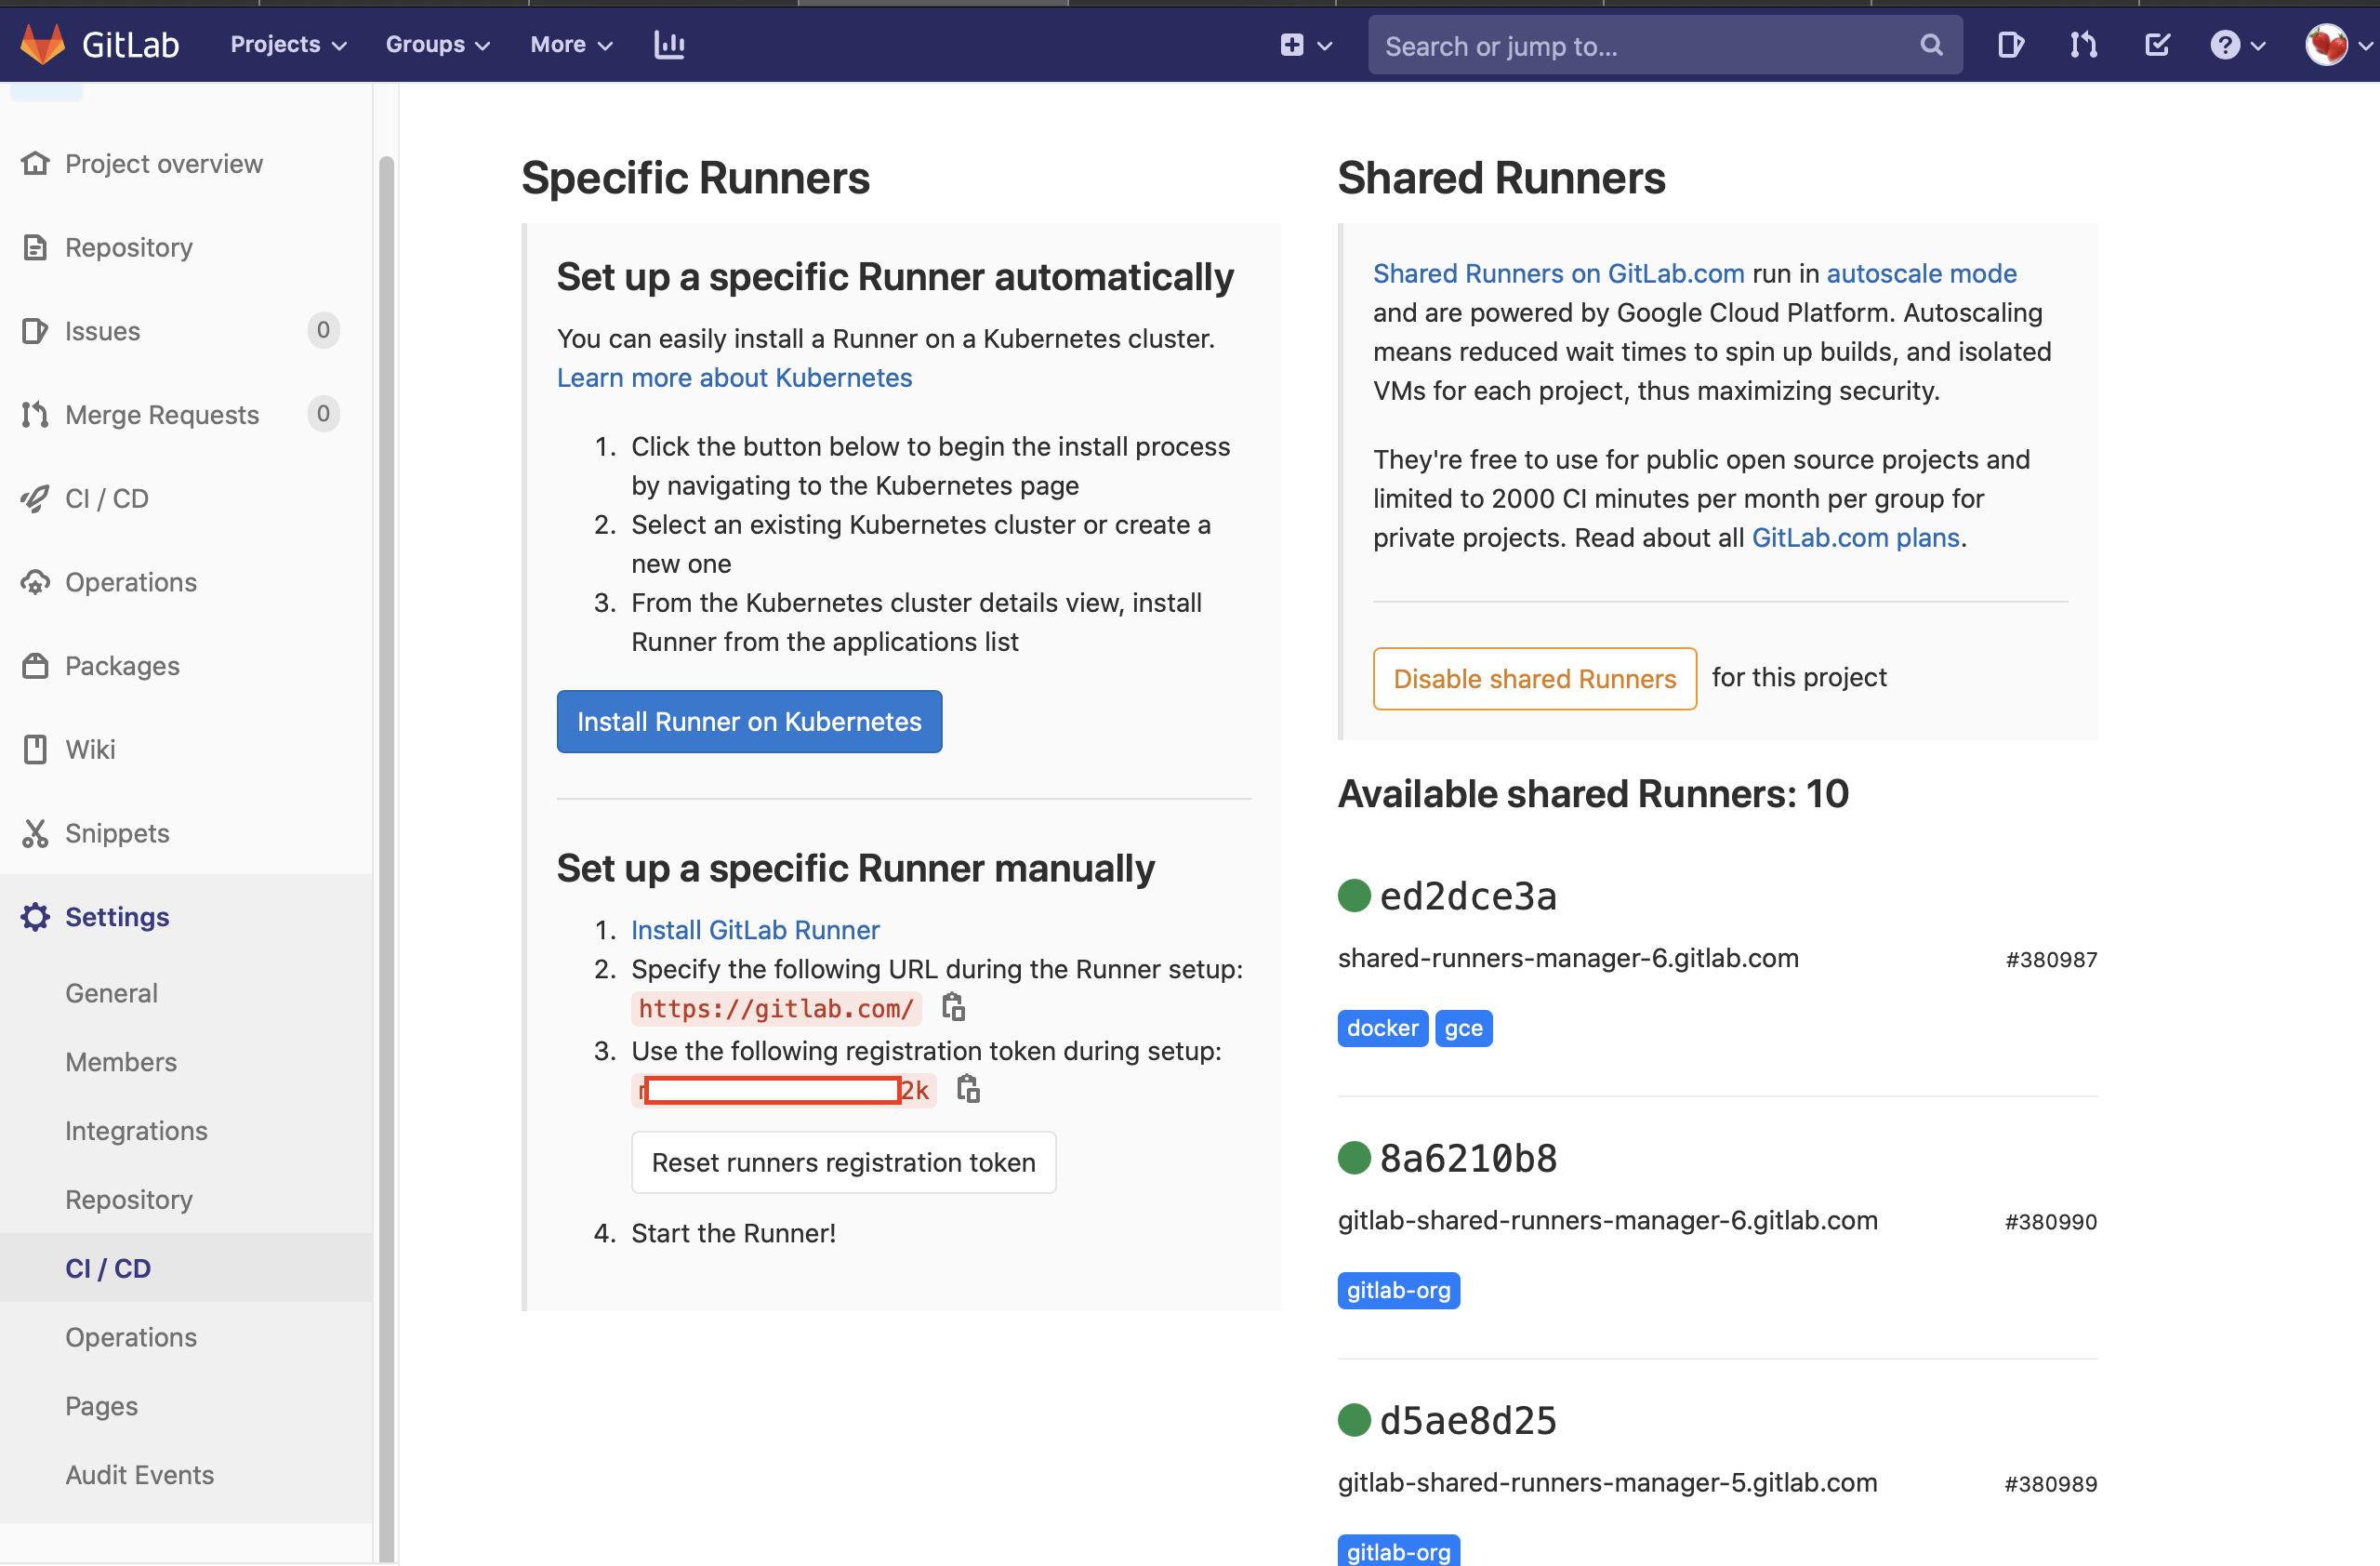
Trong
repository setting, mục CI/CD, trên VPS mình chọn cài manual, excutor
chọn Shell. Hoặc dùng luôn Share Runner mà không cần cài đặt cũng được.
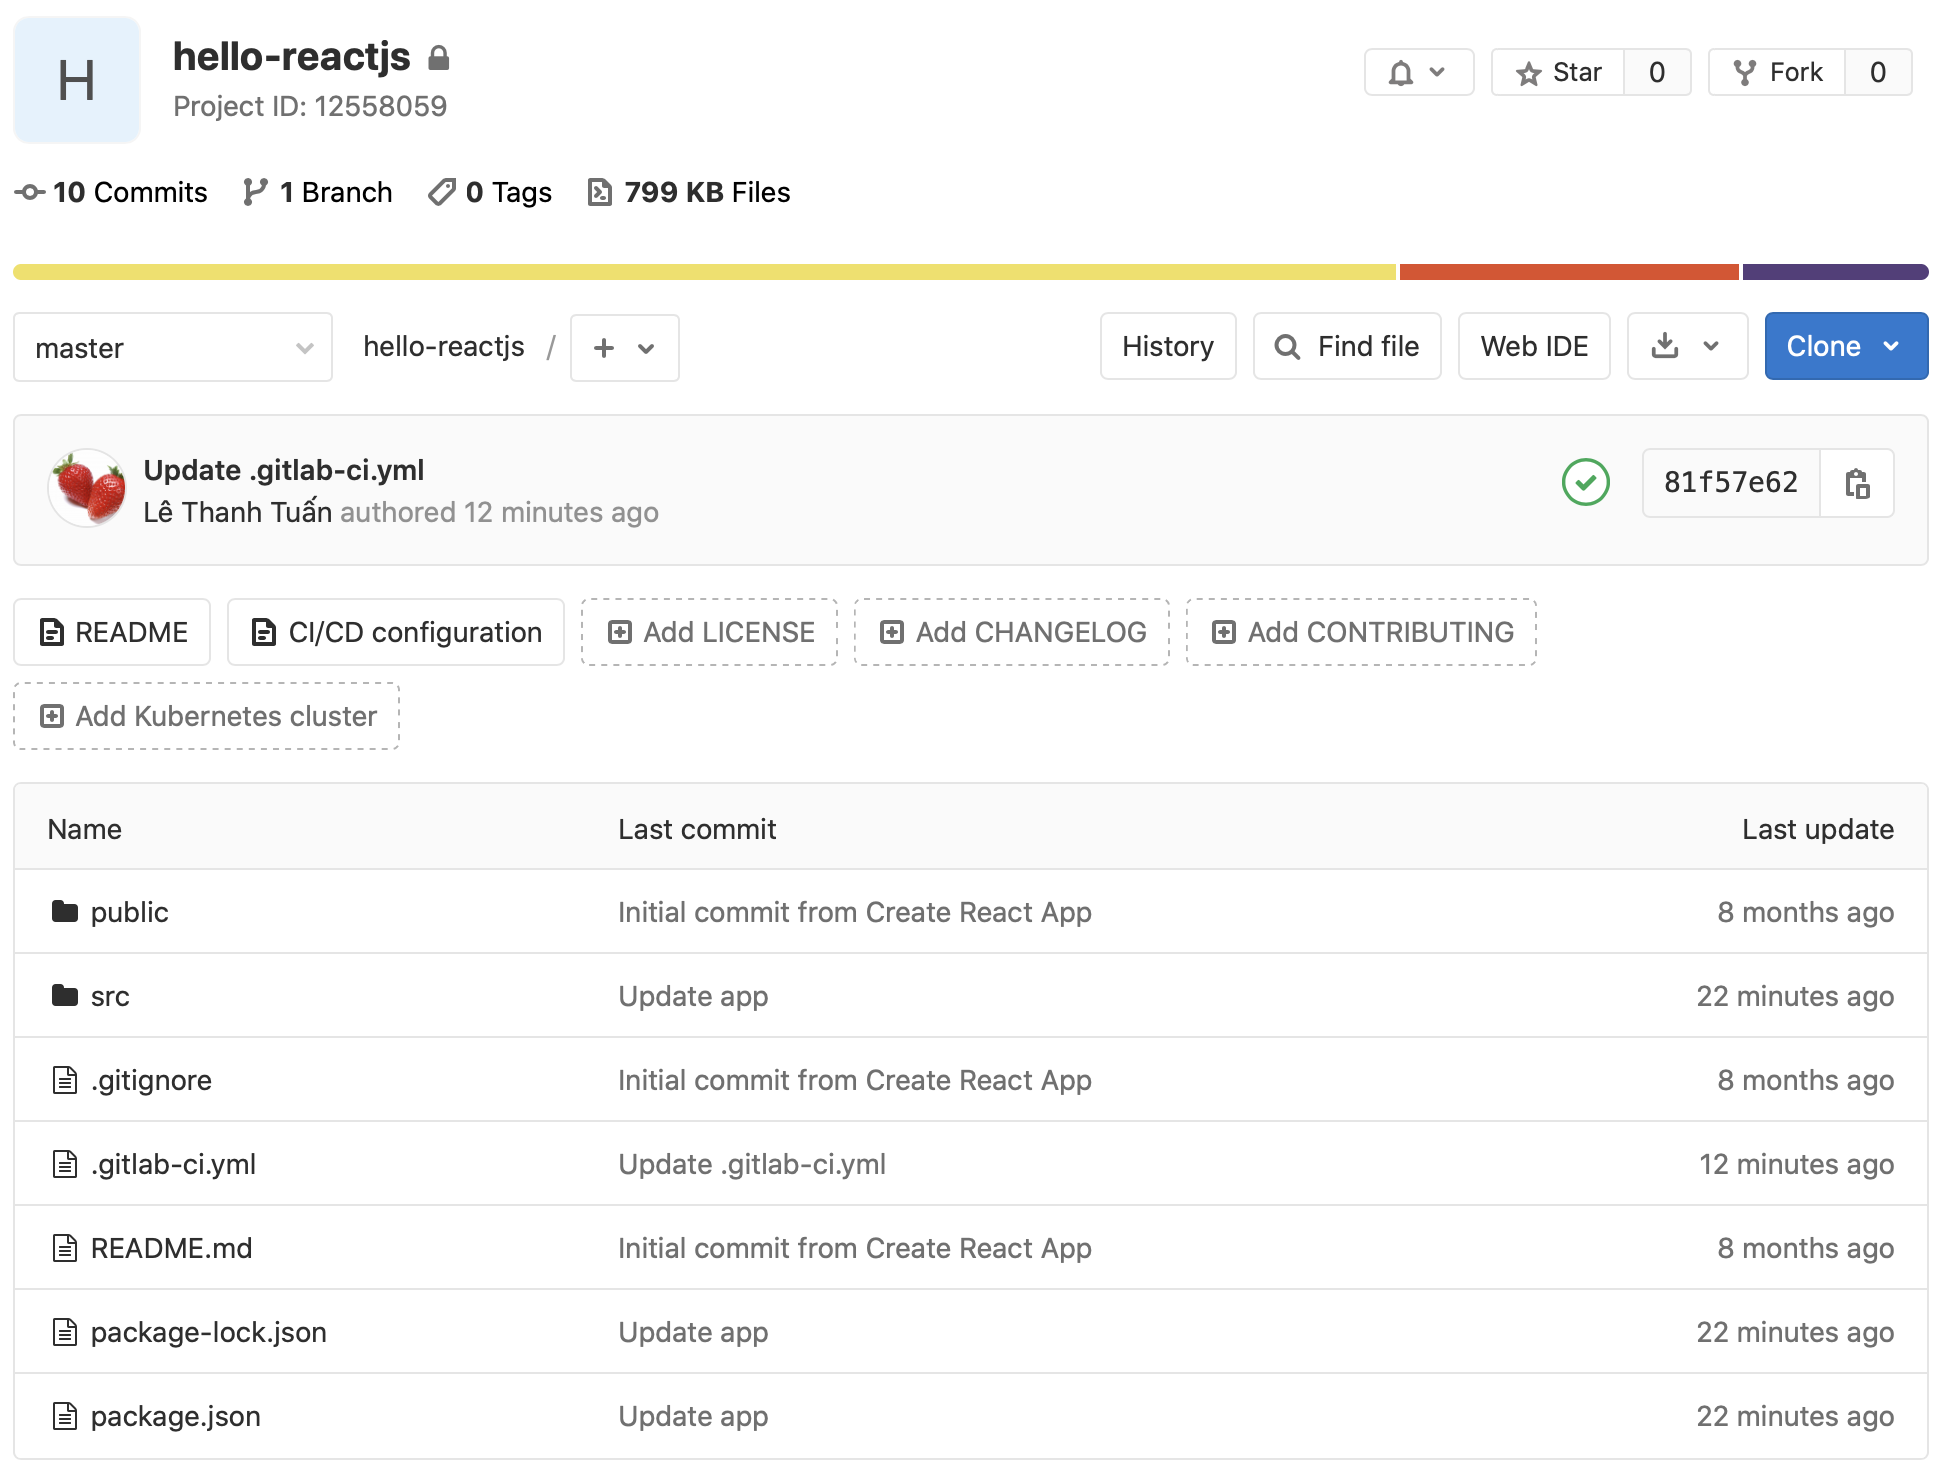
Đến đây tạm xong phần cài đặt cần thiết. Chúng ta sẽ quay lại repo trên Gitlab.
Thêm file .gitlab-ci.yml tại folder root trên Gitlab
Mặc
định Gitlab không có cơ chế nào về CI cho dự án của bạn, chỉ khi nào dự
án của bạn có file .gitlab-ci.yml nằm ở thư mục gốc thì Gitlab mới nhận
dạng được dự án của bạn muốn áp dụng Gitlab CI. File này có định dạng
và cần hợp lệ thì mới có thể hoạt động được, không thì khi bạn push code
lên thì Gitlab sẽ báo lỗi file định dạng nội dung của file cấu hình
không hợp lệ. Tham khảo cú pháp của cấu hình này tại https://docs.gitlab.com/ce/ci/yaml/
Chú
ý phải đúng format. Bạn có thể sửa trực tiếp trên Gitlab, nó sẽ kiểm
tra giúp file có đúng format hay không. Đoạn code dưới đây làm 2 việc.
Đầu tiên build code từ branh master ra bản release. Câu lệnh npm run build –prod khá quen thuộc. Sau đó deploy lên production thông qua Rsync kết hợp SSH.
# Using the node image to build the React app

image: node:latest
variables:
  PUBLIC_URL: /
# Cache node modules - speeds up future builds
cache:
  paths:
  - node_modules
stages:
- build
- deploy
build:
  stage: build
  script:
    - npm install # Install all dependencies
    - npm run build --prod # Build for prod
  artifacts:
    paths:
    - build
  only:
    - master # Only run on master branch
deploy_production:
  stage: deploy
  image: ubuntu
  before_script:
  - 'which ssh-agent || ( apt-get update -y && apt-get install openssh-client -y )'
  - eval $(ssh-agent -s)
  - mkdir -p ~/.ssh
  - echo "$SSH_PRIVATE_KEY" | tr -d '\r' > ~/.ssh/id_rsa
  - chmod 700 ~/.ssh/id_rsa
  - eval "$(ssh-agent -s)"
  - ssh-add ~/.ssh/id_rsa
  - ssh-keyscan -H 'gitlab.com' >> ~/.ssh/known_hosts
  - apt-get install rsync -y -qq
  - apt-get install curl -y -qq

  script:
    - echo "Deploying to server"
    - ssh -i ~/.ssh/gitlab -o StrictHostKeyChecking=no USERNAME@IP-HOST -p PORT
    - rsync -avz --progress -a -e "ssh -p PORT" build/ USERNAME@IP-HOST:/home/www/noithatrongviet.com/public_html
    - echo "Deployed"
  environment:
    name: production
    url: http:noithatrongviet.com
  only:
    - master # Only run on master branch
Chú các thông tin quan trọng: USERNAME@IP-HOST PORT là thông tin tên đăng nhập, port SSH của bạn. /home/www/noithatrongviet.com/public_html thay
= đường dẫn trên host của bạn. Xong nhấn nút Commit và vào mục CI/CD
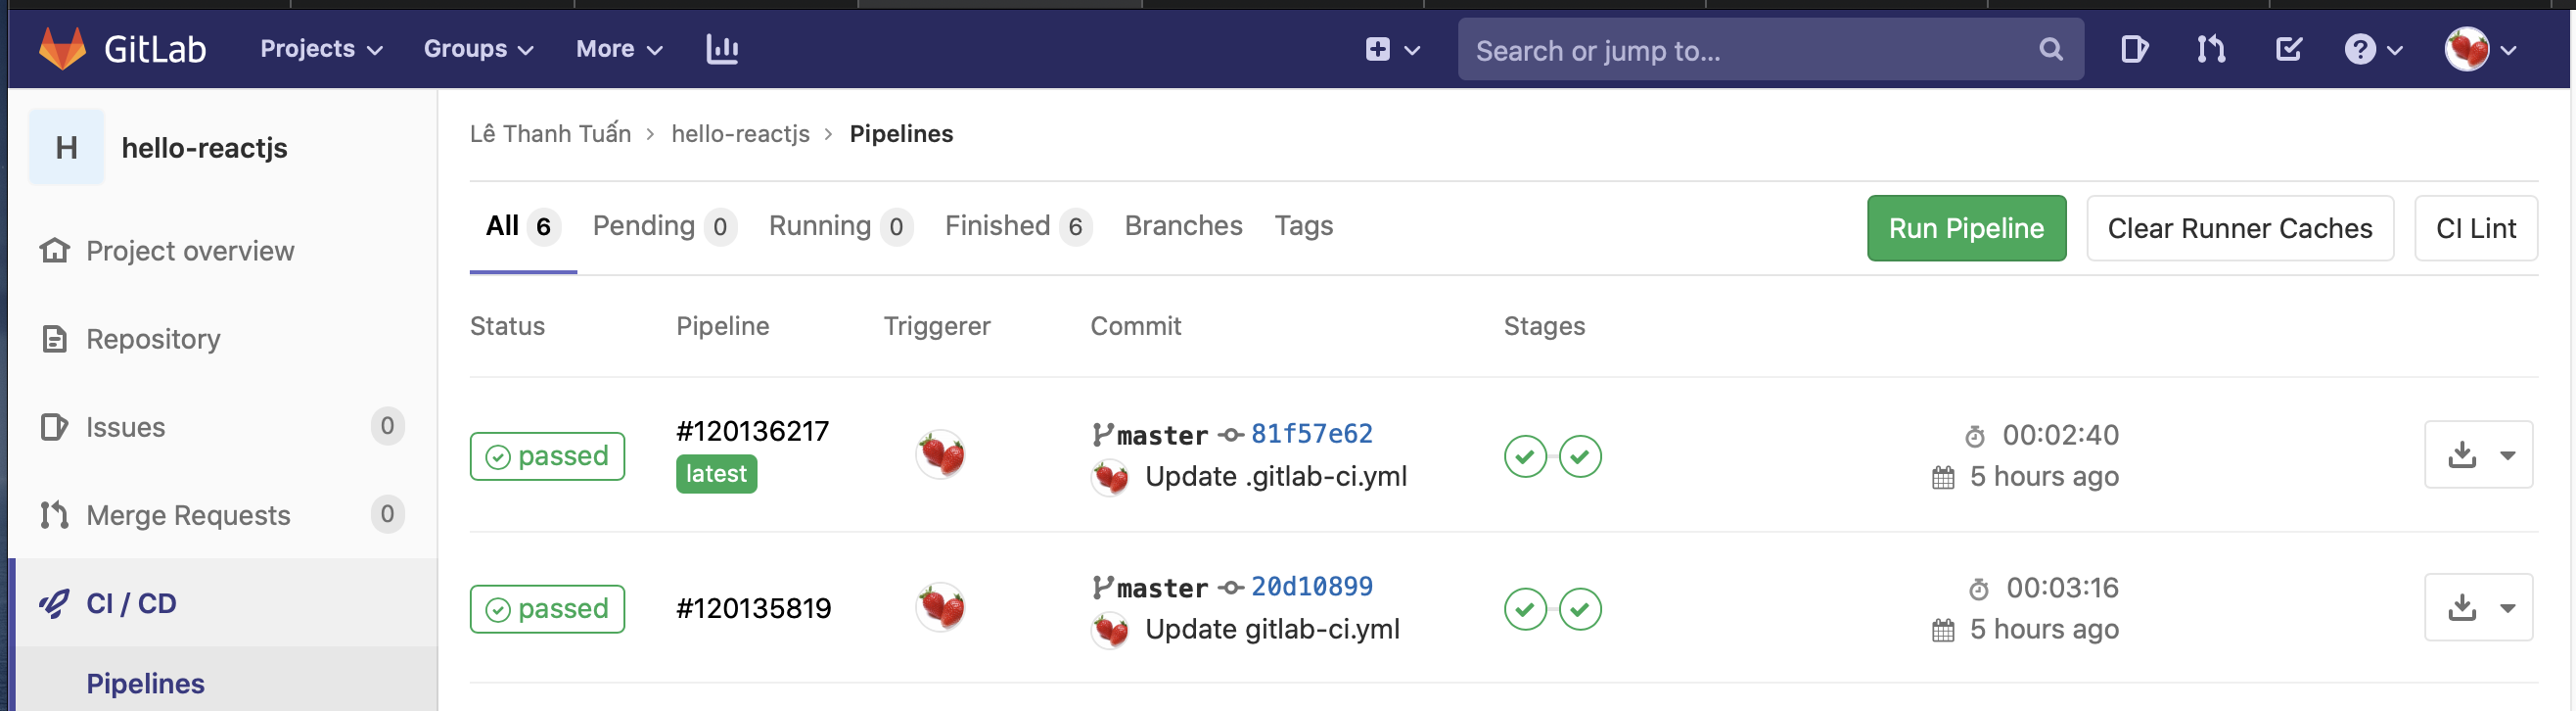
-> Pipelines hoặc CI/CD -> Jobs kiểm tra kết quả của bạn.Tận hưởng thành quảChúc các bạn thành công. Từ nay cứ commit code là Gitlab tự động build và deploy lên host cho bạn, quá đã phải không.
We all write tests for our applications and keep them in version controlled systems like GitLab or GitHub. However, how can we configure GitLab to run Unit and UI tests for us? I couldn’t find a lot of documentation explaining how to set up continuous integration for iOS on GitLab, therefore I am writing this article. Victor Peschenkov explains in his article how to use GitLab CI with Fastlane. My article focuses on how to run everything yourself. Requirements In order to set up GitLab Runner for iOS we need the following tools: Mac Xcode 10 GitLab.com account (or a self-hosted one) Homebrew CocoaPods (use Homebrew: brew install cocoapods ) Please install these tools now before continuing. Configure Xcode Make sure to download Xcode form the Mac App Store. Once it is installed open it and create a project to make sure it is completely installed and running. iOS Project I created a sample project to get you started more quickly. Feel free to fork it or use your own pro...
Docker rmi docker rmi removes images by their ID. To remove the image, you first need to list all the images to get the Image IDs, Image name and other details. By running simple command docker images -a or docker images . After that you make sure which image want to remove, to do that executing this simple command docker rmi <your-image-id> . Then you can confirm that image has been removed or not by list all the images and check. Remove multiple images There is a way to remove more than one images at a time, when you want to remove multiple specific images. So to do that first get Image IDs simply by listing the images then execute simple followed command. docker rmi <your-image-id> <your-image-id> ... Write Images IDs in the command followed by the spaces between them. Remove all images at once To remove all images there is a simple command to do that. docker rmi $(docker images -q) Here in the above command, there are two command the first whic...
Introduction This guide explains how to create SSH keys, add the public key to your CentOS 8 server, and configure sshd for passwordless login. The IP address 192.0.2.123 is an example. 1. Create an SSH key pair Create an SSH key pair on your computer with ssh-keygen . $ ssh-keygen After running this command, you should see the following prompt: Output Generating public/private rsa key pair. Enter file in which to save the key (/your_home/.ssh/id_rsa): Press ENTER to save this SSH key pair into the ./ssh subdirectory of your home directory, or specify an alternate path if you want. After this you should see the following output: Output Your identification has been saved in ~/.ssh/id_rsa. Your public key has been saved in ~/.ssh/id_rsa.pub. The key fingerprint is: your_fingerprint_key username@remote_host The key's randomart image is: +--[ RSA 2048]----+ | ..o | | E o= . | | o. o | | .. | | ..S | | ...
 Tận hưởng thành quả
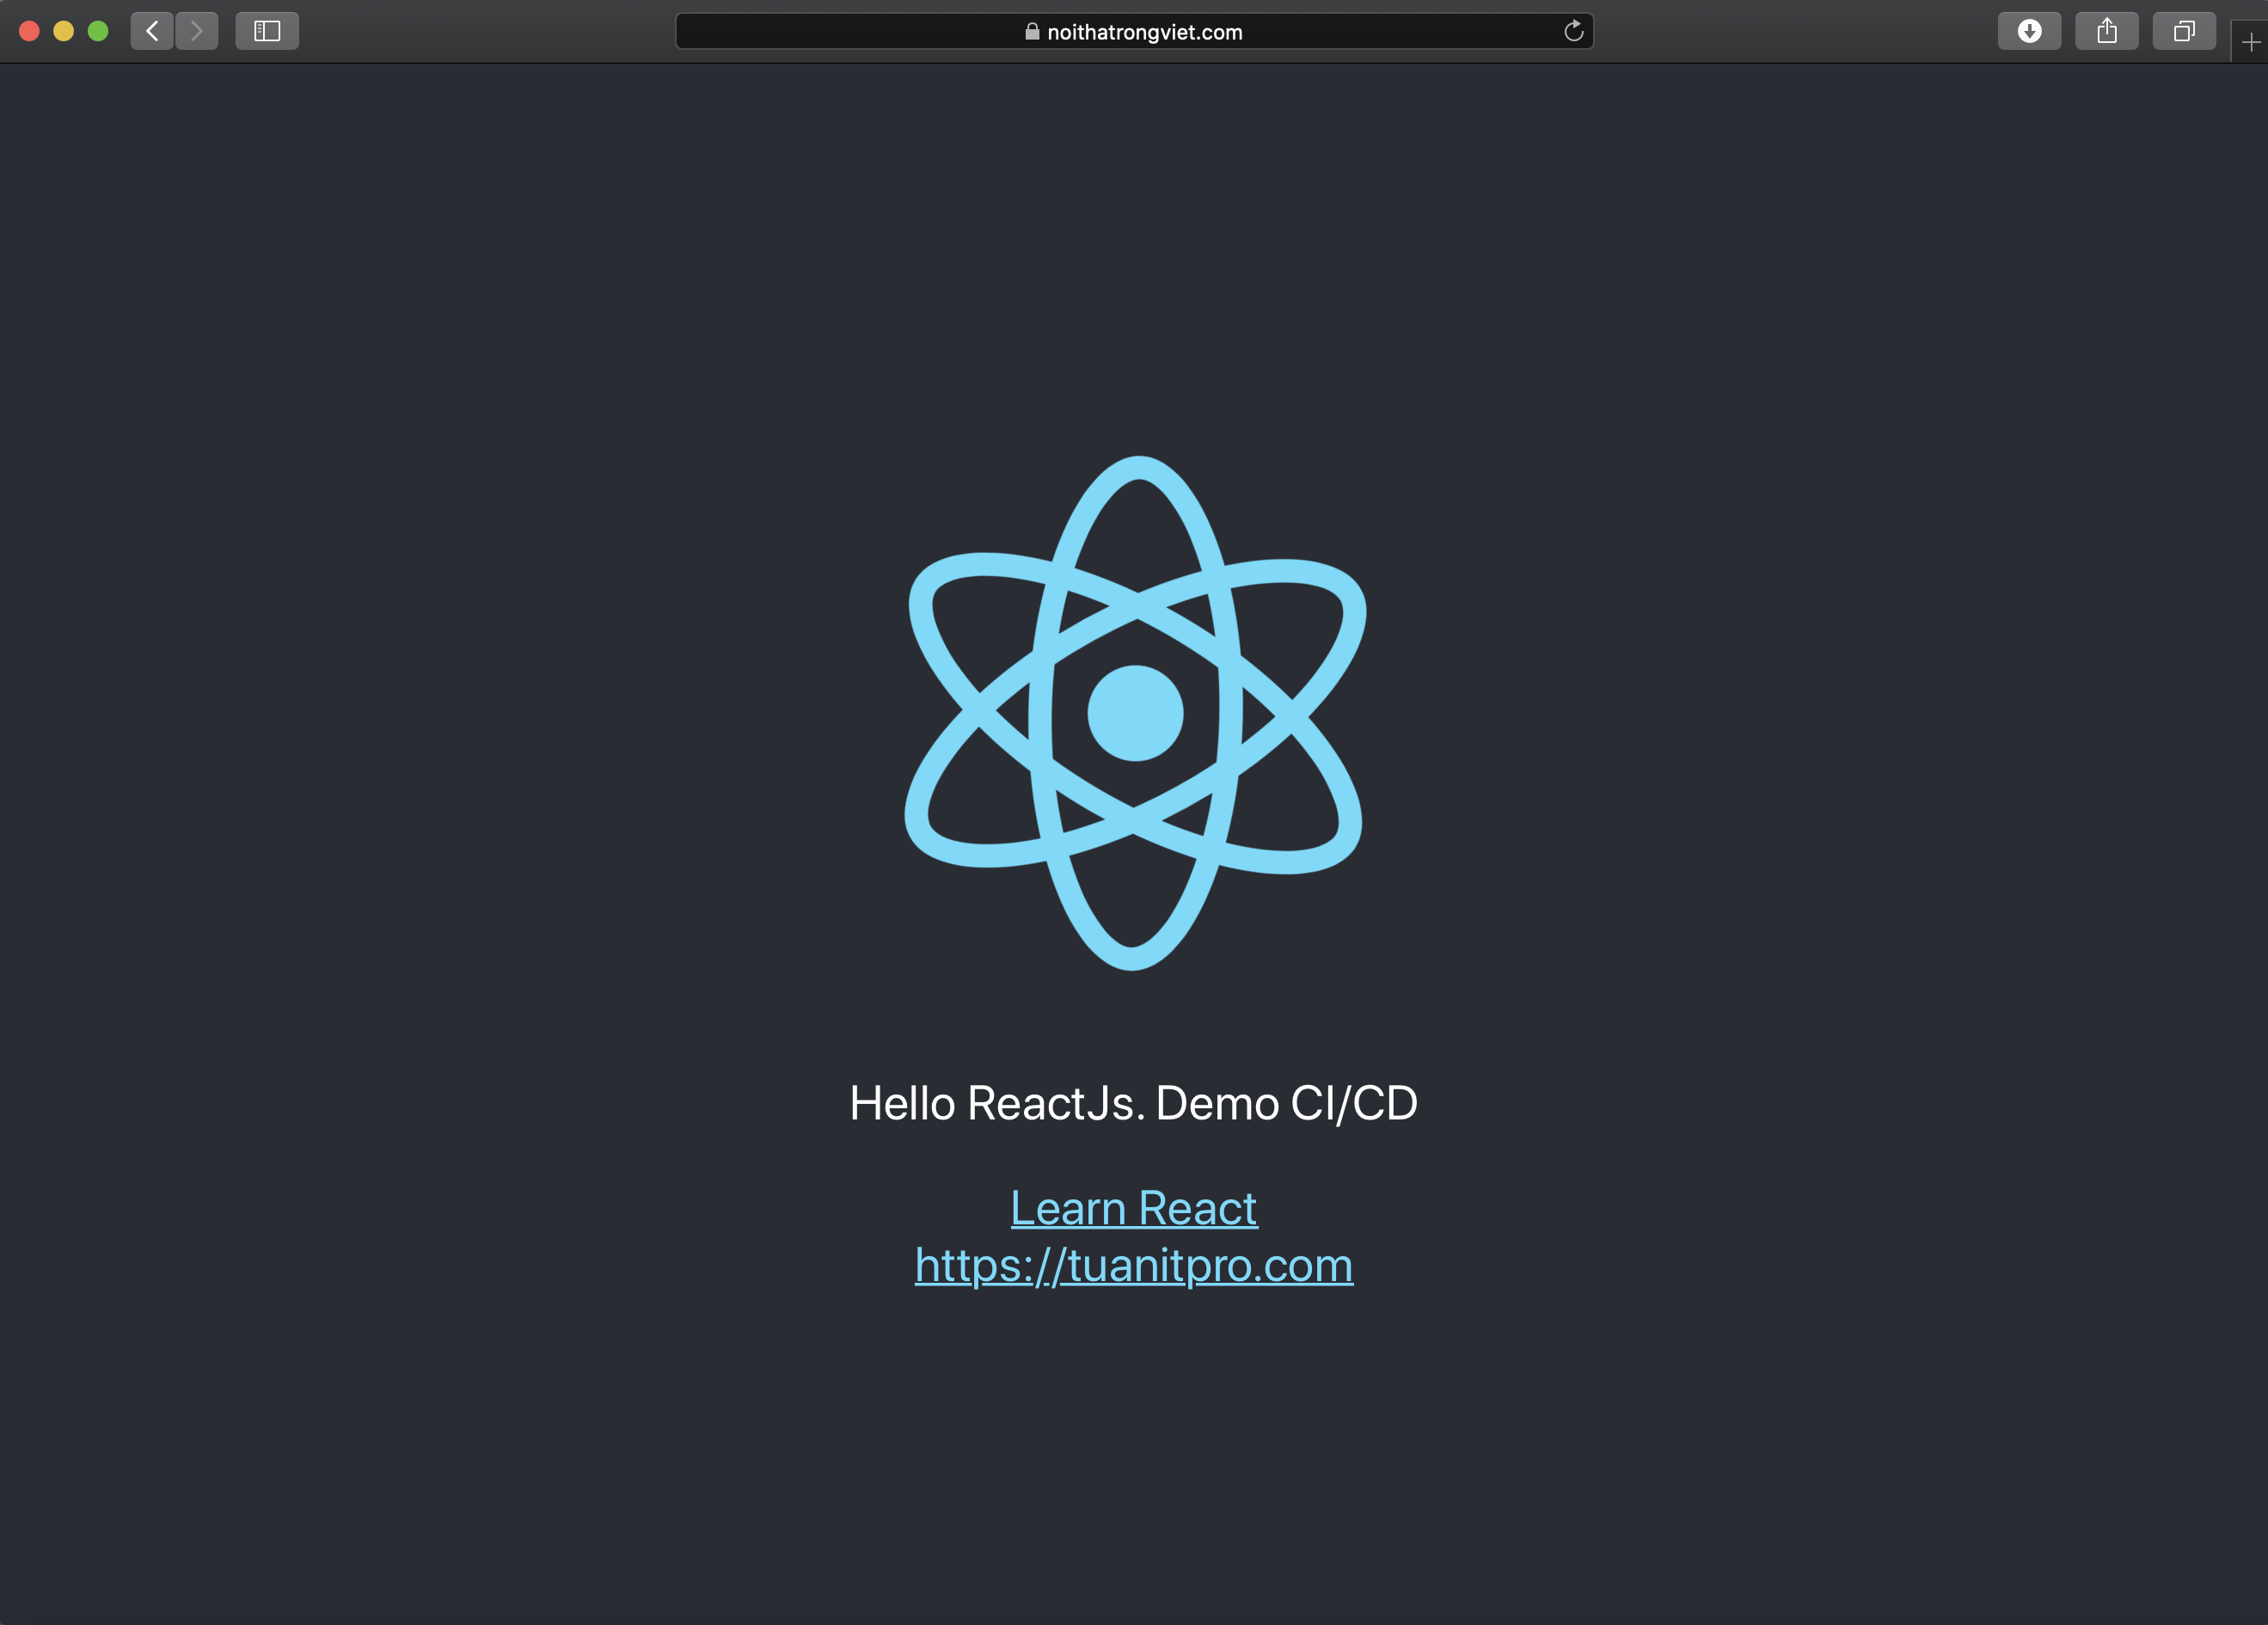 Chúc các bạn thành công. Từ nay cứ commit code là Gitlab tự động build và deploy lên host cho bạn, quá đã phải không.
Comments
Post a Comment